
Smart+ Aura Beam, Remote & Sensors
Installation, Pairing & Everyday Tips
1. How to Install
No tools. No drilling. Up in about 2 minutes.
Insert the Battery
Find the “” marked on the battery — insert that side facing into the mount.
Attach the Aura Beams
Push each Aura Beam into the connectors on each end of the mount.
Mount the Base
Works on any smooth, flat surface — tile, glass, metal, or painted walls.
Remove or Relocate
2. How to Use

Power
Press to turn on / off.

Brightness
Press & hold to brighten. Press & hold again to dim.

Color Temperature
Tap to switch: Warm (2700K) → Natural (4000K) → Daylight (6500K).
Press & hold for smooth adjustment.

Color Theme
Tap to switch: Aurora → Sunset → Forest → Ocean → Carnival.

Lighting Modes
Tap to switch effects:
3. Battery & Charging
Charging the Battery
Snap the battery off and charge with any USB-C cable. Works with most phone and laptop chargers, including PD fast charging (up to 20W).
Swappable Battery
The battery snaps right off — the light stays on the wall. Swap in a charged spare to keep the light running 24/7.
4. Smart+ Remote
Sold separately.
Pair the Remote
Light goes steady, then fades off — paired.
Warm to Daylight
Tap to switch: Warm (2700K) → Natural (4000K) → Daylight (6500K).
Then press & hold ‹·· / ··› to smoothly shift between warm and cool.
Brighten or Dim
Press & hold Brightness + or − to adjust. Release to keep.
Five Themes, One Tap
Tap to switch: Aurora → Sunset → Forest → Ocean → Carnival.
Then tap ‹·· / ··› to step back and forth through themes.
Switch the Effect
Tap to switch: Breathing → Music Sync → Steady.
5. How to Use the Smart+ Sensors
Sold separately. Pair once, then enjoy hands-free control.
Light goes steady, then fades off — paired.
- Keep sensor + lights within 66 ft / 20 m.
- Mount 4 in / 10 cm+ above the floor (avoid signal drop).
- Adjust the sensor head gently for best detection.

1 Motion Duration How long it stays on after motion
Sets how long Aura Beam stays on after motion is detected.
2 Modes Auto 1 / Auto 2 / Always On / Off
3 Adjust Temp (tap) • Brightness (hold)
4 Match / Modes Pair (hold) • Lighting modes (press)
- Sweep your hand side-to-side (left ↔ right).
- Don’t wave toward the sensor (front/back won’t trigger well).
- Sweep once, then wait a moment for all lights to respond.

1 Timer One-time auto-off for the next turn-on
Sets a one-time countdown for the light to turn off after you turn it on.
2 Modes Auto / Always On / Off
3 Adjust Temp (tap) • Brightness (hold)
4 Match / Modes Pair (hold) • Lighting modes (press)
- The sensor is on the side of the device. Place it so the door opens away from the sensor side.
- Keep the sensor side 0.2–0.59 in (5–15 mm) from the door when closed.
- Avoid mounting in the middle gap of double doors.

1 Modes Auto / Always On / Off
2 Adjust Temp (tap) • Brightness (hold)
3 Match / Modes Pair (hold) • Lighting modes (press)
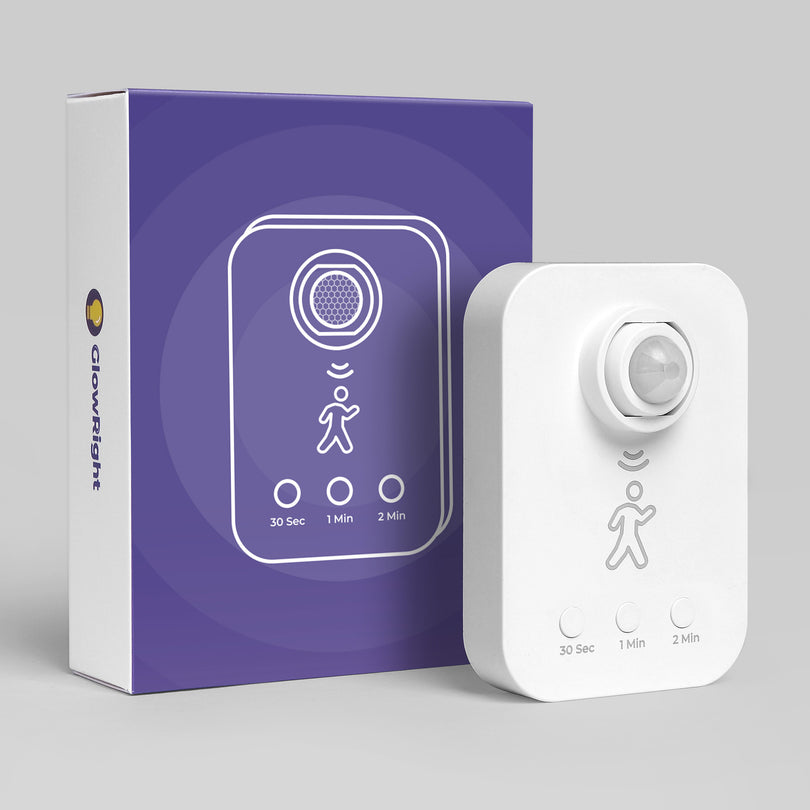
Smart+ Motion Sensor
- Keep sensor + lights within 66 ft / 20 m.
- Mount 4 in / 10 cm+ above the floor (avoid signal drop).
- Adjust the sensor head gently for best detection.
1 Motion Duration How long it stays on after motion
Sets how long Aura Beam stays on after motion is detected.
2 Modes Auto 1 / Auto 2 / Always On / Off
3 Adjust Temp (tap) • Brightness (hold)
4 Match / Modes Pair (hold) • Lighting modes (press)
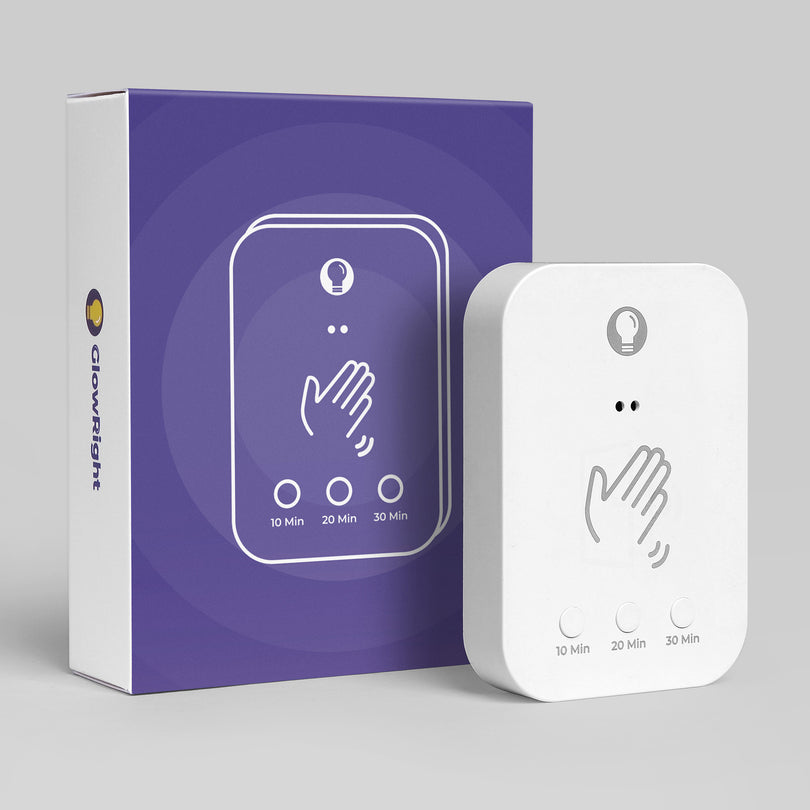
Smart+ Hand Sensor
- Sweep your hand side-to-side (left ↔ right).
- Don’t wave toward the sensor (front/back won’t trigger well).
- Sweep once, then wait a moment for all lights to respond.
1 Timer One-time auto-off for the next turn-on
Sets a one-time countdown for the light to turn off after you turn it on.
2 Modes Auto / Always On / Off
3 Adjust Temp (tap) • Brightness (hold)
4 Match / Modes Pair (hold) • Lighting modes (press)
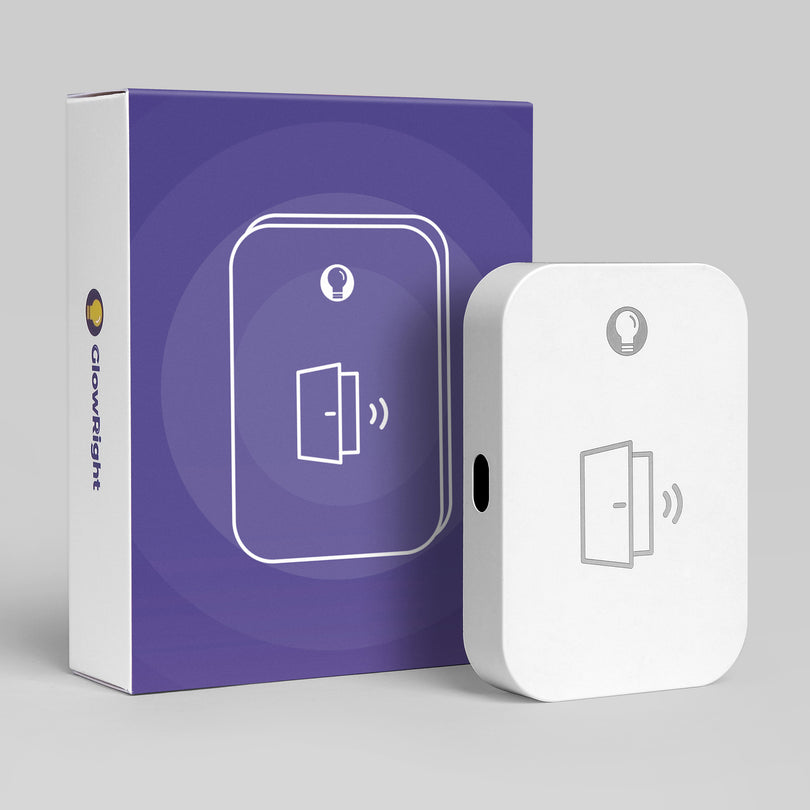
Smart+ Door Sensor
- The sensor is on the side of the device. Place it so the door opens away from the sensor side.
- Keep the sensor side 0.2–0.59 in (5–15 mm) from the door when closed.
- Avoid mounting in the middle gap of double doors.
1 Modes Auto / Always On / Off
2 Adjust Temp (tap) • Brightness (hold)
3 Match / Modes Pair (hold) • Lighting modes (press)
6. How to Recharge the Sensors
Two indicators, one cable. Here’s what each light means.


Low Battery Alert
When the battery is low, the front button indicator will blink orange.
Charging Status
The charging indicator is the small light next to the USB-C port.