Nano Adhesive Clip
Smart+ Pro COB Lightstrip & Sensors
Installations, Tips and FAQs
1. How to Install
- 1. Choose Your Clip Type
- 2. Mark the Clips
- 3. Install the Clips
- 4. Connect to Power
Drill Clip
· Nano Adhesive Clip
A removable heavy-duty tape. Works on most flat surfaces like marble, ceramic tile, glass, metal, plastic, wood, and painted walls*.
*Removing the tape moy aamage the palnt on wall.
· Drill Clips
Suitable for any surface.
Measure the light's length and mark where you'll place the clips. You might want a measuring tape and pencil for this. Space the clips evenly along the lightstrip, about 9.8" (25 cm) apart.
💡 Pro Tips:
Add the nano stickers (included in the package) between the clips to help the lightstrip lay flat against the wall.
· Nano Adhesive Clip
Clean the surface and stick on the clips. Let it sit for 2 hours to make sure it holds tight.
· Drill Clips
Drill holes and screw the clips in place.
Once the clips are installed, snap the lightstrip into place—it’ll click when it’s secure.
Connect the lightstrip to the PowerControl Hub*, and plug it into a power socket.
*You can also use the Nano Adhesive tape (included in the package) to stick the PowerControl Hub onto the wall.
1. Choose Your Clip Type
Nano Adhesive Clip
Drill Clip
· Nano Adhesive Clip
A removable heavy-duty tape. Works on most flat surfaces like marble, ceramic tile, glass, metal, plastic, wood, and painted walls*.
*Removing the tape moy aamage the palnt on wall.
· Drill Clips
Suitable for any surface.
2. Mark the Clips
Measure the light's length and mark where you'll place the clips. You might want a measuring tape and pencil for this.
Space the clips evenly along the lightstrip, about 9.8" (25 cm) apart.
💡 Pro Tips:
Add the nano stickers (included in the package) between the clips to help the lightstrip lay flat against the wall.
3. Install the Clips
· Nano Adhesive Clip
Clean the surface and stick on the clips. Let it sit for 2 hours to make sure it holds tight.
· Drill Clips
Drill holes and screw the clips in place.
Once the clips are installed, snap the lightstrip into place—it’ll click when it’s secure.
4. Connect to Power
Connect the lightstrip to the PowerControl Hub*, and plug it into a power socket.
*You can also use the Nano Adhesive tape (included in the package) to stick the PowerControl Hub onto the wall.
2. Customize Your Lightstrip Length
Extend for Longer
To extend your lightstrip, simply connect the head of the extension (sold separately) to the end of your existing lightstrip. It’s quick and effortless!
💡 Pro Tips:
For optimal performance, we recommend keeping the total length of the lightstrip within 32.8 feet (10 meters). Beyond this, you may notice a slight brightness variation between the start and end of the strip.
Cut for Shorter
To shorten your lightstrip, locate the labeled cuttable positions spaced every 1.2” (3 cm). Using scissors, carefully cut along one of these marked lines.
3. How to Use
Power On/Off
Press to turn your light on or off.
Color Temperature
Touch and hold the button, then release when it reaches your desired warmth or coolness.
Brightness
Touch and hold the button, then release when it reaches your preferred brightness level.
Switch Modes
Touch once to switch between: Always-On → Breathing Light* → Music Syncing
*A soft, gradual pulsing effect, ideal for creating a decorative and calming ambiance.
💡 Pro Tips:
Sync Mutiple Lights:
Use the Smart+ Sensor (sold separately) to control multiple Smart+ lights simultaneously.
4. How to Pair with Smart+ Sensor
#1 Remove the plastic film from the battery of the Smart+ Sensor.
#2 On the PowerControl Hub, touch and hold the power button for 5 seconds until the lightstrip begins to flash.
#3 On the Smart+ Sensor (sold separately), press and hold the "Match / Modes" button. The light will slowly flash once and then fade off to indicate the pairing is successful.
💡Pro Tips:
1. One sensor can pair with multiple lights that are within 66ft / 20m. (Lights can only be paired with one sensor at a time).
2. After pairing all your lights, we recommend you try to adjust the color temperature and brightness of all the lights. This will help them work together more smoothly and create a harmonious lighting effect.
3. If any lights aren't syncing, try to adjust the color temperature and brightness a few more times until all lights match up.
5. How to Use the Smart+ Sensors
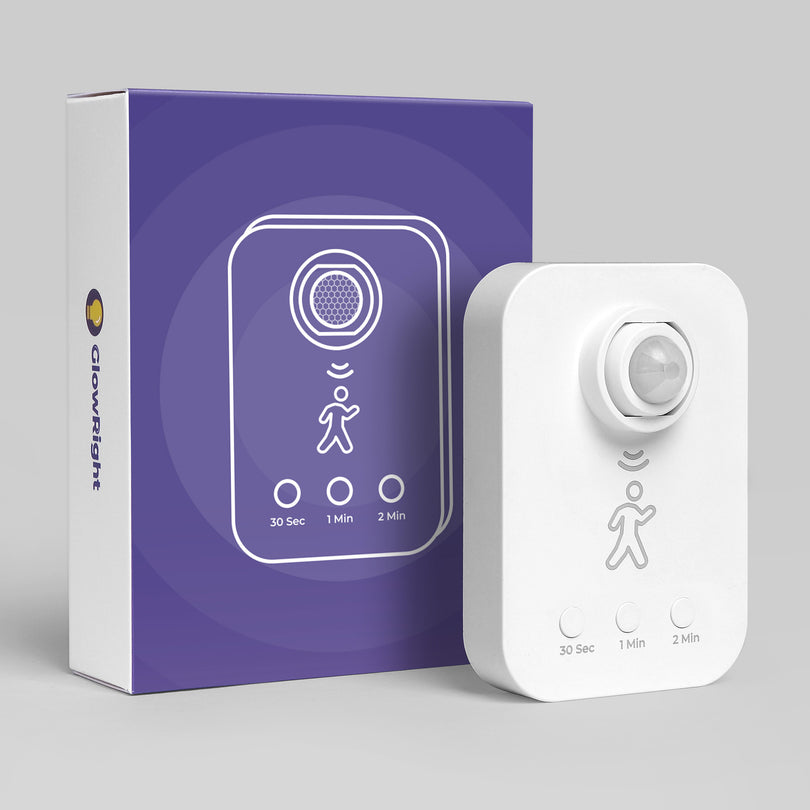
Smart+ Motion Sensor
Installation Tips:
1. We recommend that you keep the distance between the lights and motion sensor within 66ft / 20m. Or the lights could lose connection with the sensor.
2. Effortlessly swivel the sensor head's angle for the best detection. Just a heads-up: avoid pressing down too hard on the sensor head.
3. Keep the lights and the sensor at least 4" / 10cm above the ground to avoid signal interruption.
1. Motion Duration
Choose your light duration after triggered by motion (Motion Modes Only)
2. Lighting Modes
Auto 1 - Energy Motion Mode, activate in the dark only (Flash Once)
Auto 2 - All Day Motion Mode (Flash Twice)
Always On - Always-On Mode (Flash Three Times)
Off - Turn off
3. Lighting Preferences
S: Temp. - Press to change lights' color tempertures.
L: Dim - Press and hold to change lights' brightness.
4. Match / Modes
Match: - Press and hold to pair the sensor with the light.
Modes: - Press to switch between lighting modes.
Always-On → Breathing Light* → Music Syncing
*A soft, gradual pulsing effect, ideal for creating a decorative and calming ambiance.
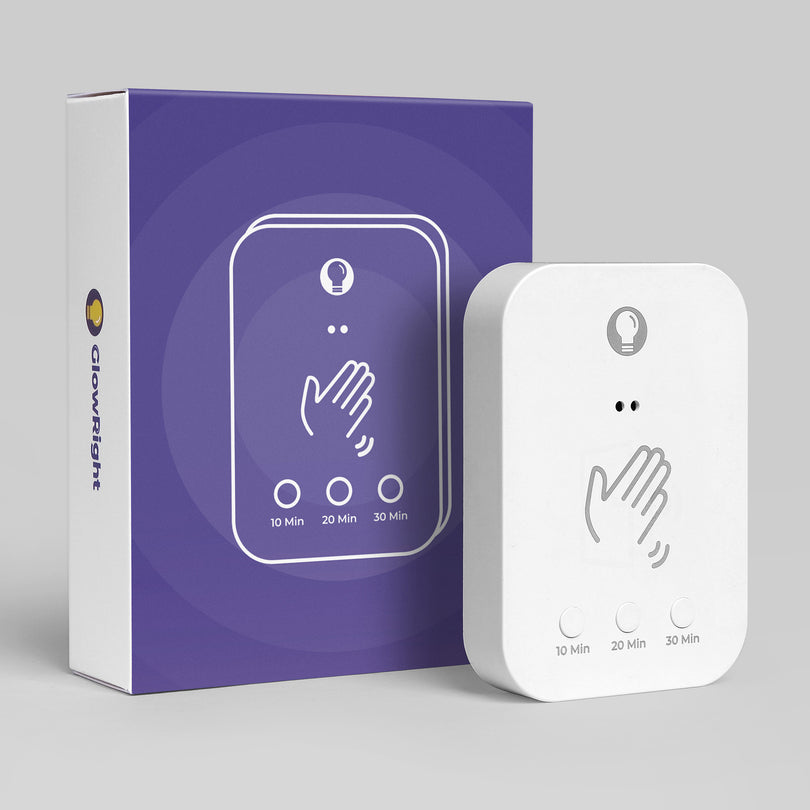
Smart+ Hand Sensor
1. Timer Function
Choose your light duration (Hand-Sweeping Modes Only)
2. Lighting Modes
Auto - Hand-Sweeping Mode (Flash Once)
Always On - Always-On Mode (Flash Twice)
Off - Turn off
3. Lighting Preferences
S: Temp. - Press to change lights' color tempertures.
L: Dim - Press and hold to change lights' brightness.
4. Match / Modes
Match: - Press and hold to pair the sensor with the light.
Modes: - Press to switch between lighting modes.
Always-On → Breathing Light* → Music Syncing
*A soft, gradual pulsing effect, ideal for creating a decorative and calming ambiance.
Hand Sweeping Tips:
1. The sensor detects hand sweep horizontally, e.g. left to right. It does not detect movements towards the front.
2. We recommend sweeping the sensor once and waiting for the lights to respond. Try not to sweep too frequently, otherwise one or two lights could lose communication. If this happens, simply sweep again until all lights respond.
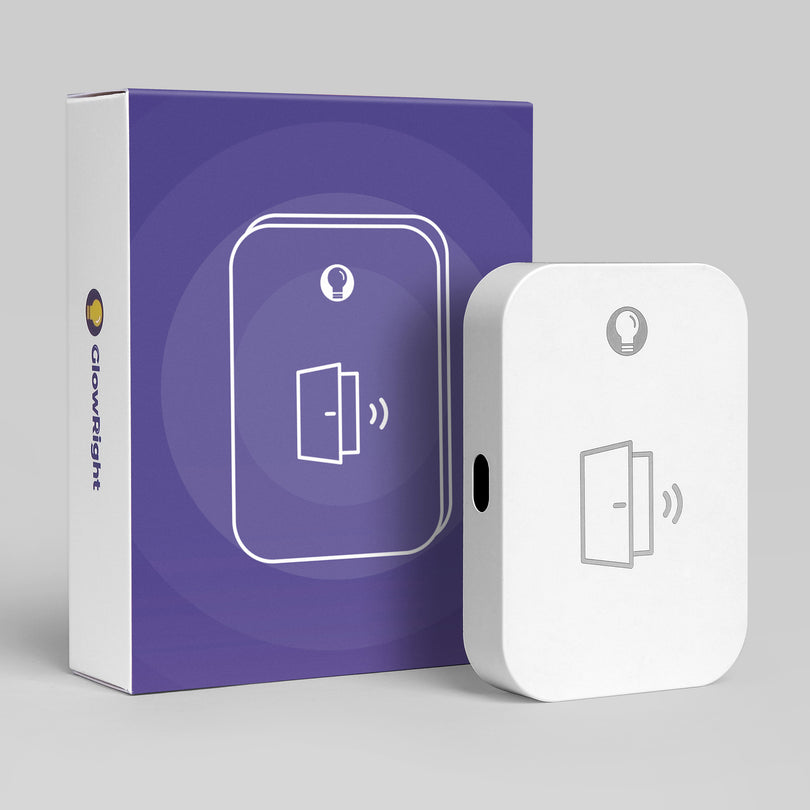
Smart+ Door Sensor
Installation Tips:
1. The sensor is located on the side of the device. It should be placed so that the door opens away from the sensor.
2. The distance between the sensor and the door must be in the range of 0.2'' to 0.59'' (5mm to 15mm).
3. Do not place the sensor between the gap in the middle of double doors.
1. Lighting Modes
Auto - Door-Activated Mode (Flash Once)
Always On - Always-On Mode (Flash Twice)
Off - Turn off
2. Lighting Preferences
S: Temp. - Press to change lights' color tempertures.
L: Dim - Press and hold to change lights' brightness.
3. Match / Modes
Match: - Press and hold to pair the sensor with the light.
Modes: - Press to switch between lighting modes.
Always-On → Breathing Light* → Music Syncing
*A soft, gradual pulsing effect, ideal for creating a decorative and calming ambiance.
- Smart+ Motion Sensor
- Smart+ Hand Sensor
- Smart+ Door Sensor
Installation Tips:
1. We recommend that you keep the distance between the lights and motion sensor within 66ft / 20m. Or the lights could lose connection with the sensor.
2. Effortlessly swivel the sensor head's angle for the best detection. Just a heads-up: avoid pressing down too hard on the sensor head.
3. Keep the lights and the sensor at least 4" / 10cm above the ground to avoid signal interruption.
1. Motion Duration
Choose your light duration after triggered by motion (Motion Modes Only)
2. Lighting Modes
Auto 1 - Energy Motion Mode, activate in the dark only (Flash Once)
Auto 2 - All Day Motion Mode (Flash Twice)
Always On - Always-On Mode (Flash Three Times)
Off - Turn off
3. Lighting Preferences
S: Temp. - Press to change lights' color tempertures.
L: Dim - Press and hold to change lights' brightness.
4. Match / Modes
Match: - Press and hold to pair the sensor with the light.
Modes: - Press to switch between lighting modes.
Always-On → Breathing Light* → Music Syncing
*A soft, gradual pulsing effect, ideal for creating a decorative and calming ambiance.
1. Timer Function
Choose your light duration (Hand-Sweeping Modes Only)
2. Lighting Modes
Auto - Hand-Sweeping Mode (Flash Once)
Always On - Always-On Mode (Flash Twice)
Off - Turn off
3. Lighting Preferences
S: Temp. - Press to change lights' color tempertures.
L: Dim - Press and hold to change lights' brightness.
4. Match / Modes
Match: - Press and hold to pair the sensor with the light.
Modes: - Press to switch between lighting modes.
Always-On → Breathing Light* → Music Syncing
*A soft, gradual pulsing effect, ideal for creating a decorative and calming ambiance.
Hand Sweeping Tips:
1. The sensor detects hand sweep horizontally, e.g. left to right. It does not detect movements towards the front.
2. We recommend sweeping the sensor once and waiting for the lights to respond. Try not to sweep too frequently, otherwise one or two lights could lose communication. If this happens, simply sweep again until all lights respond.
Installation Tips:
1. The sensor is located on the side of the device. It should be placed so that the door opens away from the sensor.
2. The distance between the sensor and the door must be in the range of 0.2'' to 0.59'' (5mm to 15mm).
3. Do not place the sensor between the gap in the middle of double doors.
1. Lighting Modes
Auto - Door-Activated Mode (Flash Once)
Always On - Always-On Mode (Flash Twice)
Off - Turn off
2. Lighting Preferences
S: Temp. - Press to change lights' color tempertures.
L: Dim - Press and hold to change lights' brightness.
3. Match / Modes
Match: - Press and hold to pair the sensor with the light.
Modes: - Press to switch between lighting modes.
Always-On → Breathing Light* → Music Syncing
*A soft, gradual pulsing effect, ideal for creating a decorative and calming ambiance.
6. How to Replace the Sensor Battery
To open the battery compartment of the sensor:
1. Unscrew the small screw
2. Push down the tab, and at the same time slide the tray out
💡Pro Tips:
1. The sensor uses a CR2450 coin-cell battery.
2. If the orange indicator light flashes 5 times, it means that the sensor battery is about to run out, and it's time to replace the battery.

