


#1 Attach Magnets
Place the metal plates on the marked spots at the back of the light.
Cart
Your cart is empty
Setup, Pairing & Sensor Tips
Follow these two quick steps.
Simple steps. No drilling. No guesswork.
Place the metal plates on the marked spots at the back of the light.
Wipe the surface clean, then position the light(s) where you want them.
Take off the light, press the metal plates firmly for a few seconds, then let them sit for 2 hours before putting the light back.
Connecting multiple lights? Remove the end cover on each end, then connect one light to another.
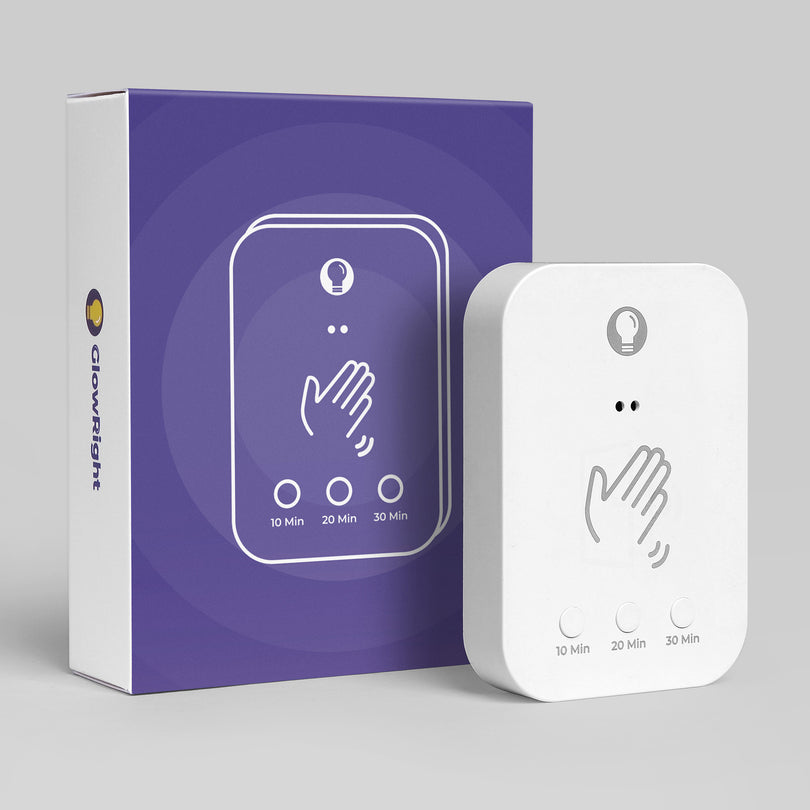
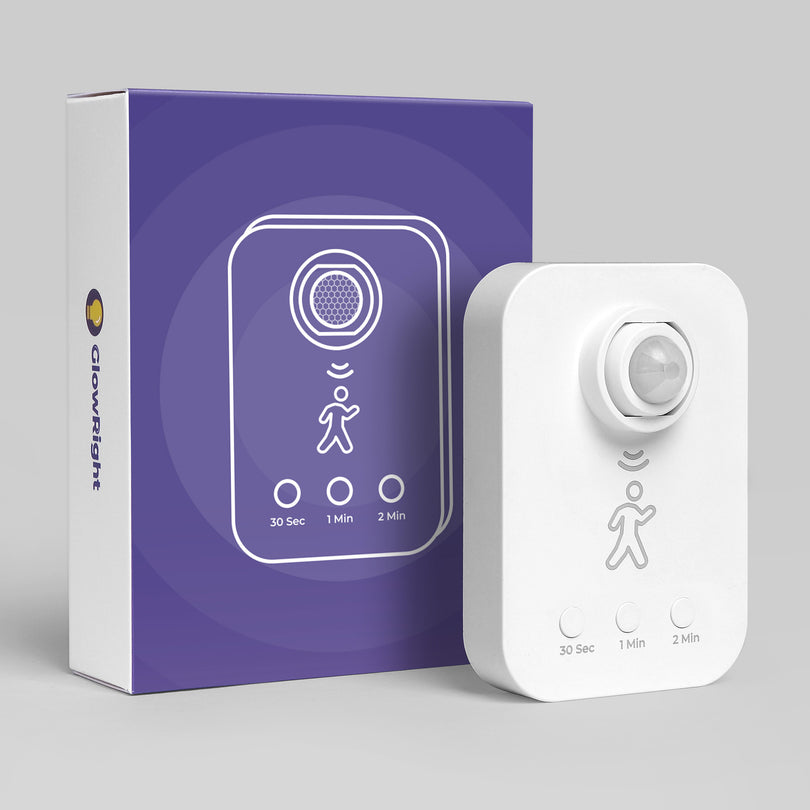
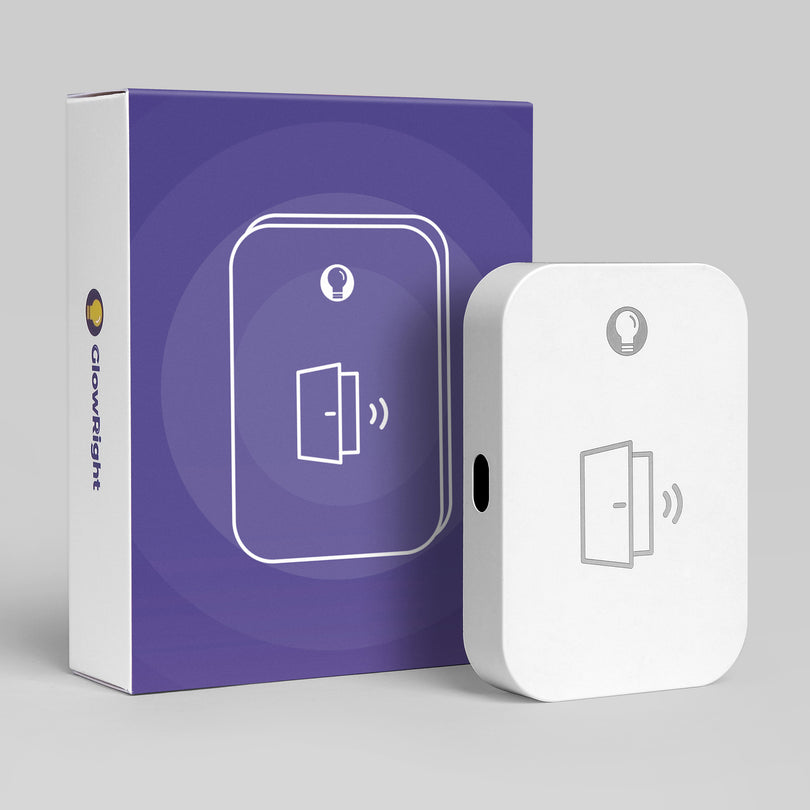
Pick your sensor below. Set the mode, then enjoy hands-free control.

Sets how long Everywhere Light stays on after motion is detected.

Sets a one-time countdown for the light to turn off after you turn it on.

Sets how long Everywhere Light stays on after motion is detected.
Sets a one-time countdown for the light to turn off after you turn it on.
Plug in, check the indicator, and you’re good to go.

Two indicators, one cable. Here’s what each light means.


When the battery is low, the front button indicator will blink orange.
The charging indicator is the small light next to the USB-C port.


