
Aura Bar Help & setup
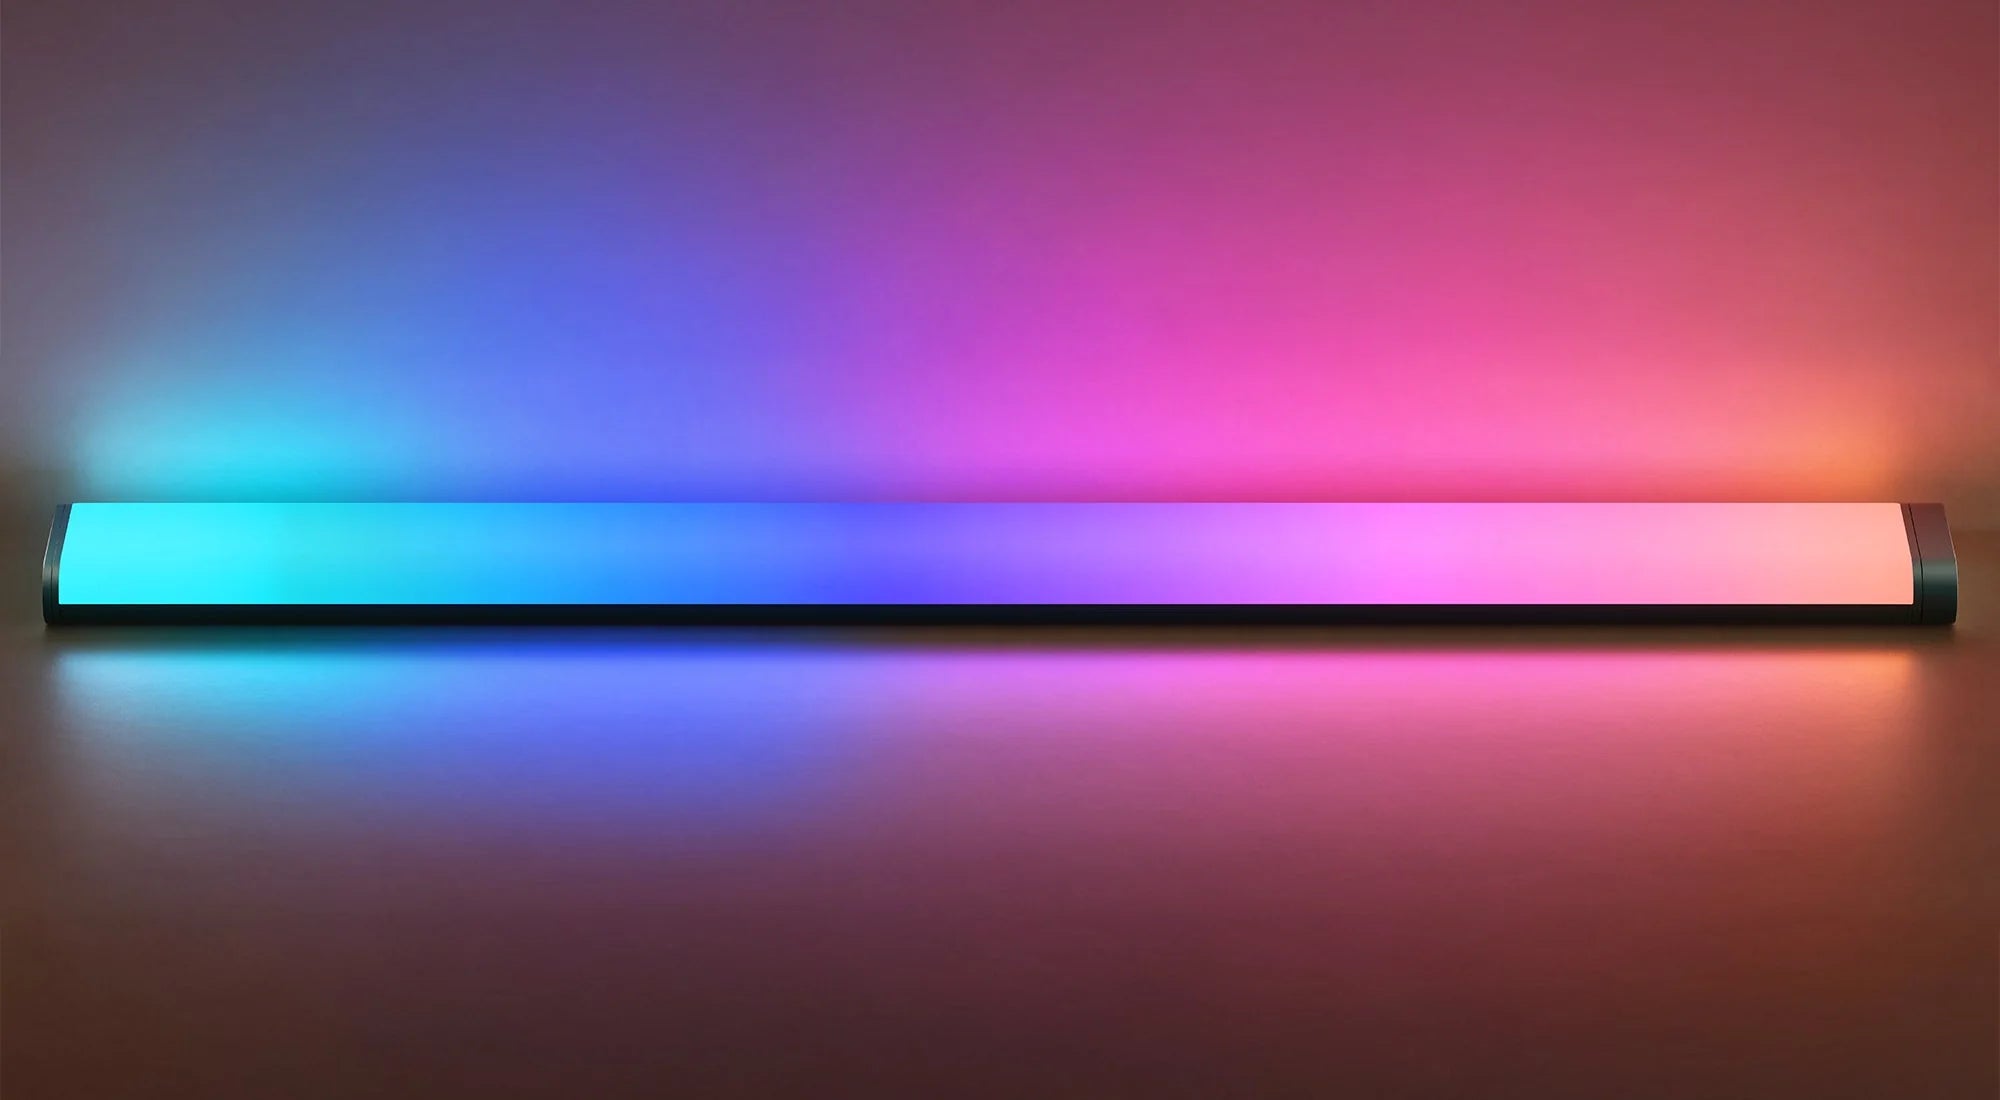
Let's get you glowing.
The light first. Then the Dock and the 4-in-1 Sensor, if you have them.
Up and glowing in three steps.
No tools, no wiring. Just a clean, dry spot.
Stick it up
Wipe the spot clean and dry first. Then four quick steps.
 1Snap on the plates
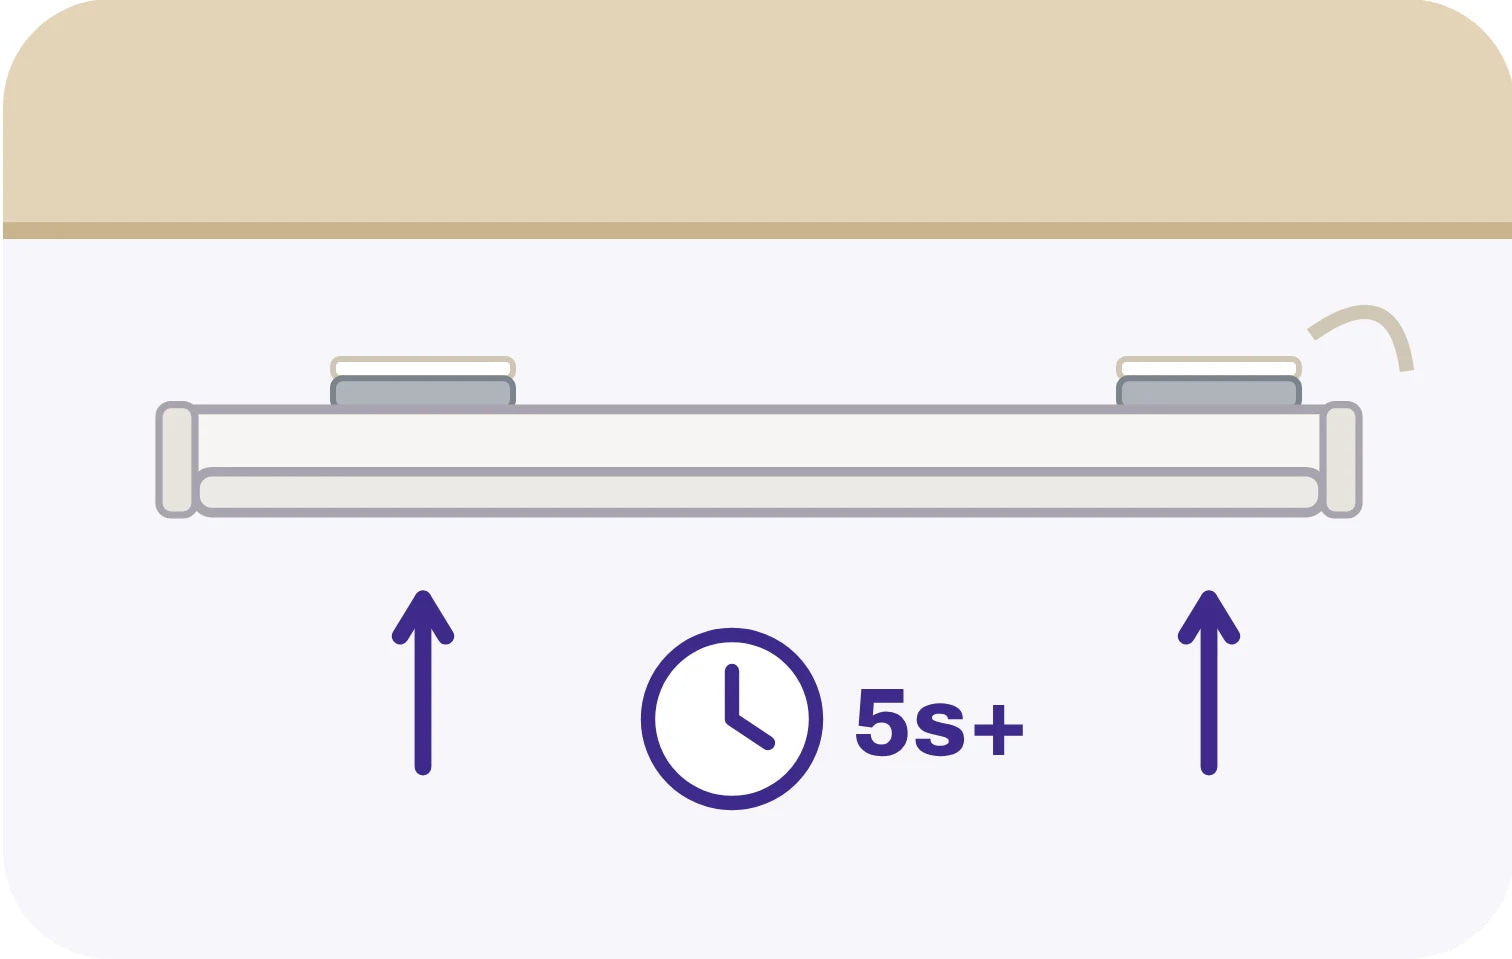 2Peel, press firmly 5 seconds
 3Wait 1 hour, then lift it off
 4Peel off the guide


The plates stay up. Lift the light off anytime to charge.
Turn it on. Try it here.
Two buttons on the end. Try them.
PowerHold 1.5 s to turn on or off
LightTap for the next light. Hold to dim.
Keep it glowing
Run it on battery, or plug it in and forget about charging.
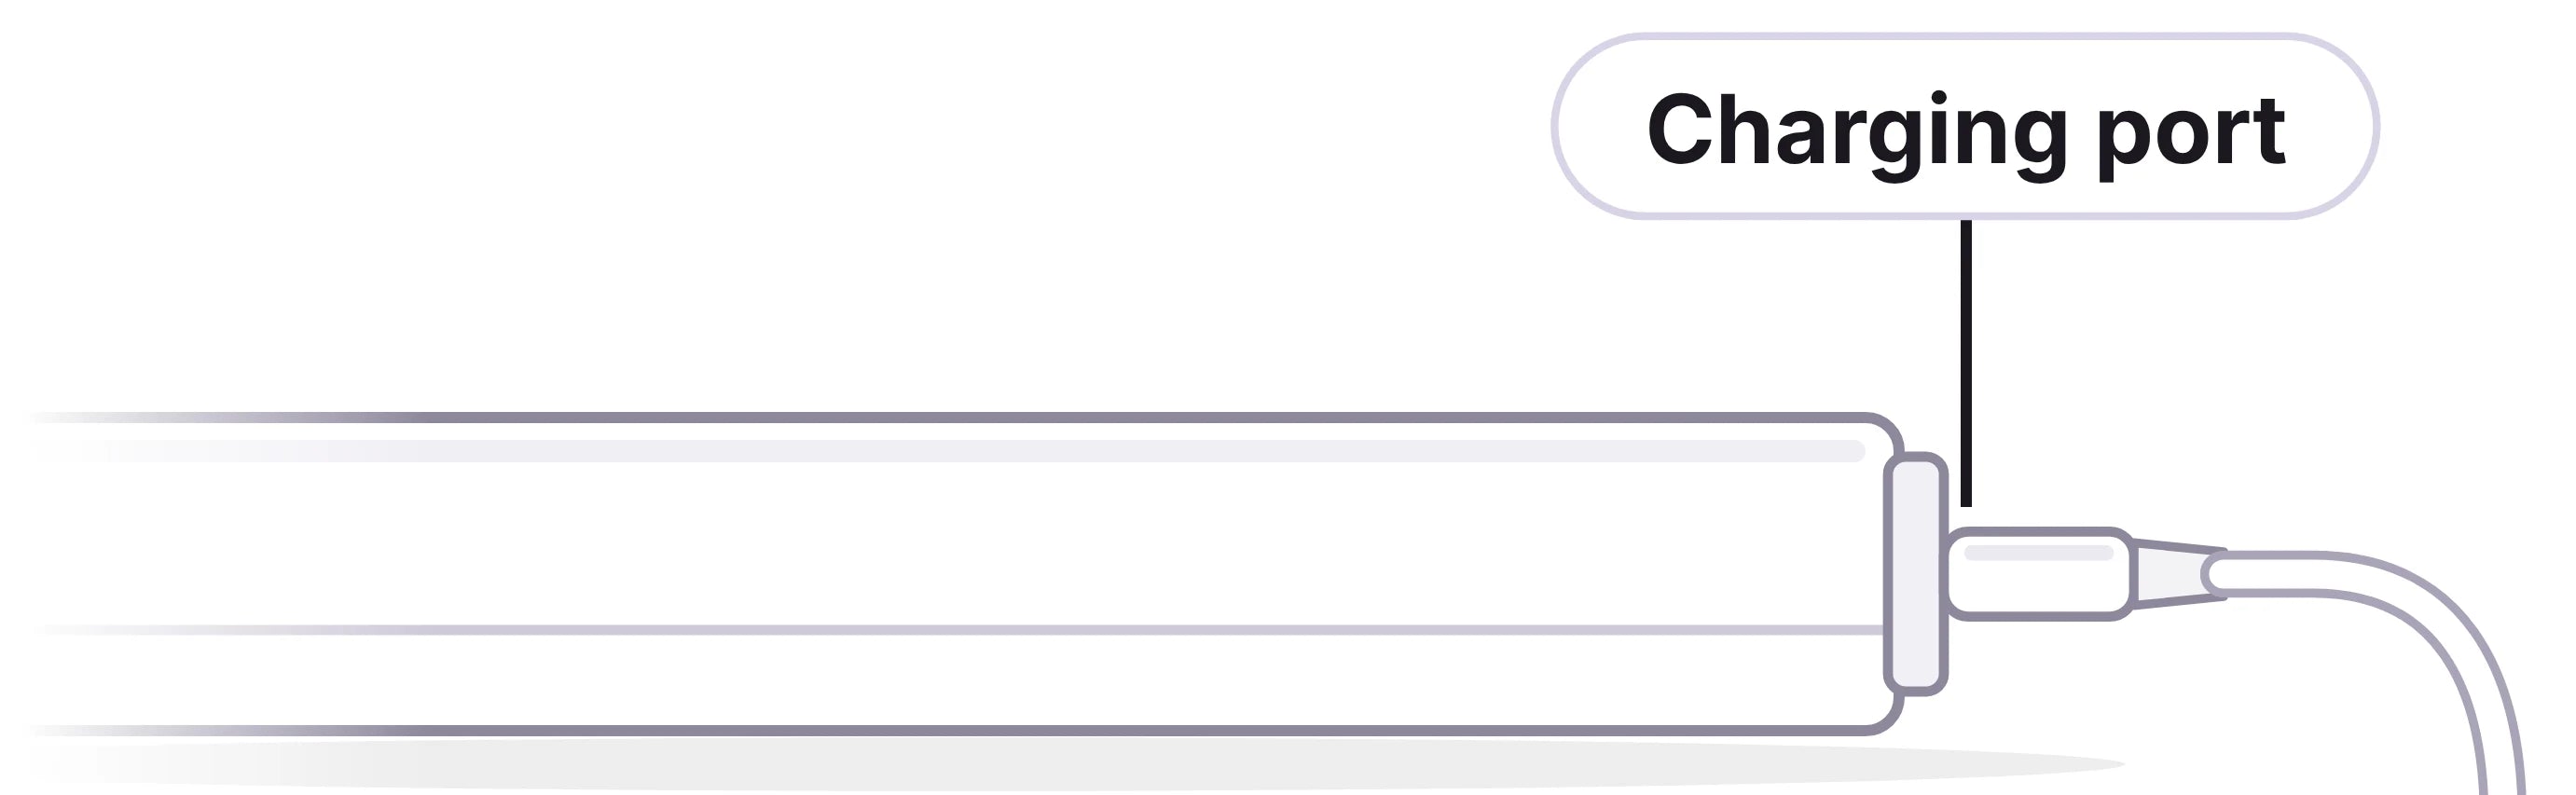
Getting dimmer? Charge it.
- 1Pull the cap off the button end.
- 2Plug in any 5V/2A USB charger.
Red: chargingGreen: full
- Pull off the caps where they meet.
- Line them up the same way, push the ends together.
- Plug one cable into the open end.
Stand it up, or hang it.
The Dock turns Aura Bar into a lamp or a wall light. Pick one to see how.
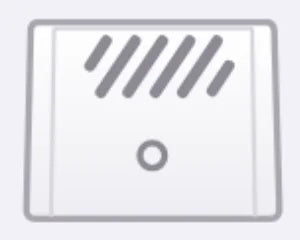 DockBack Cap fitted
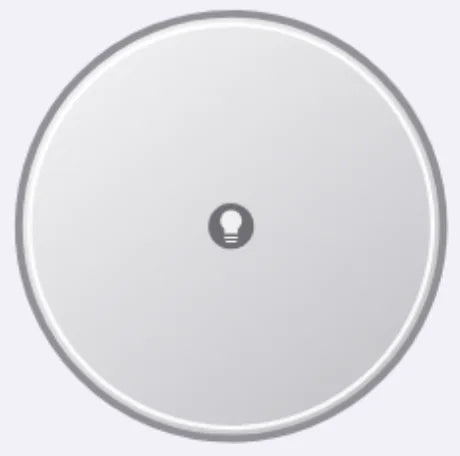 Desk Plate
 Wall Plate
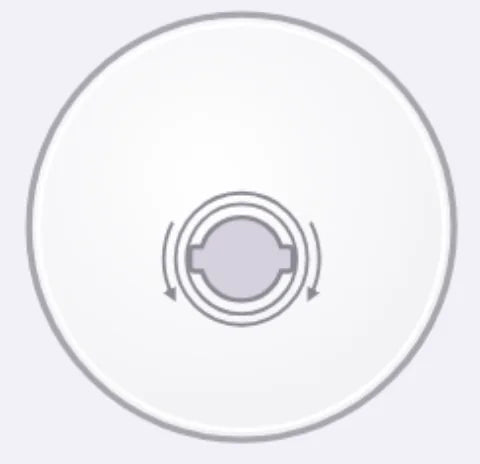 Wall Shell

 On a desk or shelf4 steps
 1Pull off the light's end cap
Keep it to put back later.
 2Set the Dock on the Desk Plate
Line it up with the logo.
 3Add the light
Button end down. Push it in.
 4Tap to turn on
Tap the circle on the front.
 1Pull off the light's end cap
 2Set the Dock on the Desk Plate
 3Add the light
 4Tap to turn on
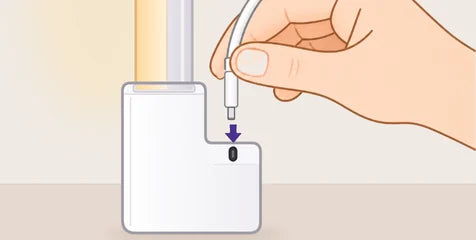
Plug a USB-C cable into the back of the Dock. It runs 24/7.
 On a wall8 steps
 1Stick on the Wall Plate
Wipe the wall first. Center the bubble, then stick.
 2Press hard, 30 seconds
Press the whole plate firmly.
 3Pull out the level
It's in the way of the Wall Shell.
 4Snap on the Wall Shell
Then wait 1 hour so the strips can hold.
 5Pull off the Back Cap
Keep it for desk use.
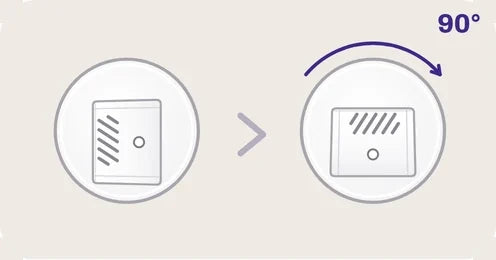 6Insert, then turn 90°
Sideways in, then clockwise until it stops.
 7Add the light
End cap off, button end down.
 8Tap to turn on
Tap the circle on the front.
 1Stick on the Wall Plate
 2Press hard, 30 seconds
 4Snap on the Wall Shell
 5Pull off the Back Cap
 7Add the light
 8Tap to turn on
Taking it down · 4 steps
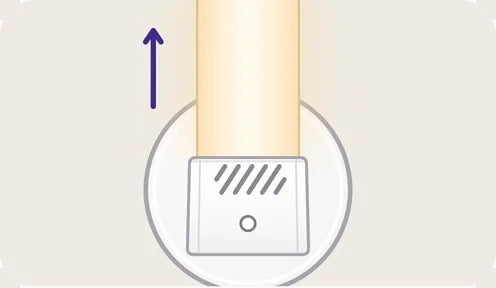 1Lift the light straight up and out.
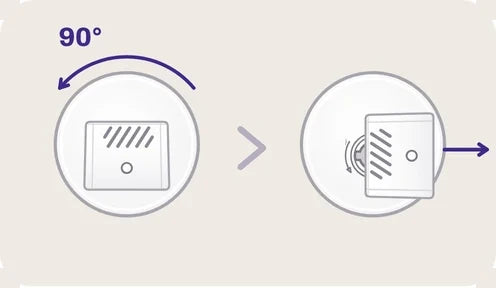 2Turn the Dock back 90° and pull it off.
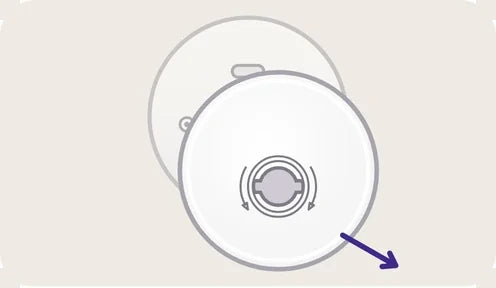 3Lift off the Wall Shell.
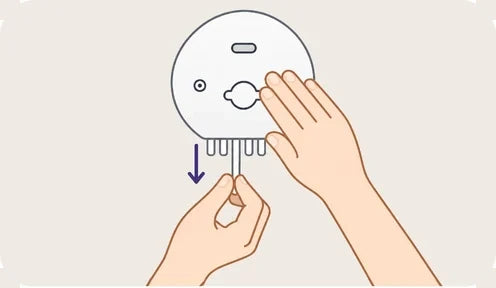 4Pull each strip slowly down along the wall, not out.
One sensor. Four ways to turn on. And a remote.
No app or Wi-Fi needed. One sensor runs every light you pair.
Pair once. That's it.
Do this once for each light. After that, they all respond together.
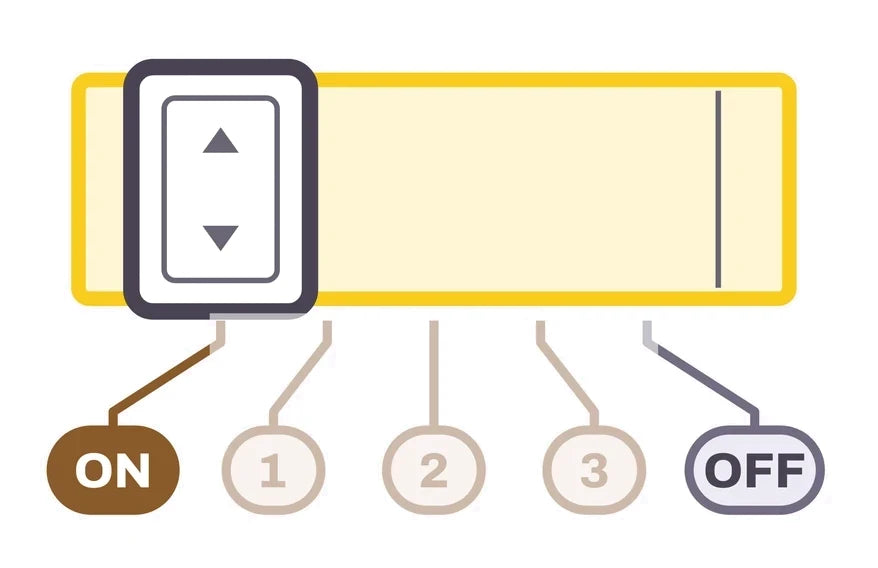 Timer dialGEN switch1Set the sensorEasy to miss
- Timer dial onON
- GEN switch onGEN 2
Any other setting won't pair. Once paired, set the timer any way you like.
- 2On the light
Press Power 3 times, quickly. It pulses blue and waits 10 seconds.
- 3On the sensor
Press PAIR 3 times while the light pulses. The light flashes green when it's paired.
More lights, or moving one?
 More lights
Pair each one with steps 1 to 3, one light at a time. Up to 66 ft / 20 m from the sensor.
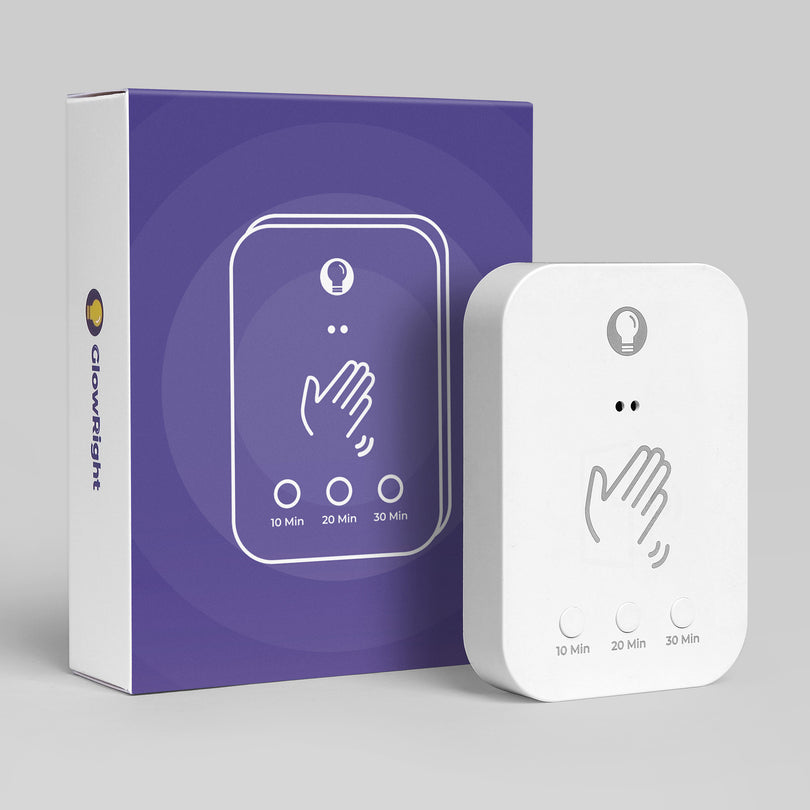
On the sensor, press one of these once.
BRIGHTNESSorWARMTH
All your lights match again.
- ×5Press Power 5 times, quickly.
- It flashes orange. Unpaired.
- Steps 1–3Repeat them with the new sensor.
The easiest way to change the light.
Lift it off the plate. The back is a remote for every light you paired.
- Try the remotePress any button on it. Its card jumps up here and shows what it does.
1Warmth
3 whites. Hold for warm to cool.
- Press
- 3 whites, in turn
- Press & hold
- Warm to cool
2Scene
Next color scene.
- Press
- Next color scene
3Brightness
Low, Medium, High. Hold to dim.
- Press
- Low, Medium, High
- Press & hold
- Dim to bright
4Night Sense
Hold 2 s. Motion only at night, or day and night.
- Hold 2 s
- Night Sense on or offFor Motion mode only
OnOnly at nightFlashes purple
OffDay and nightFlashes sky blue
5Extra
Hold. Breathing on or off.
- Press & hold
- Breathing on or offA slow, soft pulse
OnFades in
OffDips once
6Pair
Press 3 times to pair a light.
- Press 3×
- ×3Pair a lightPress the light's Power button 3 times first.
Four ways to turn on.
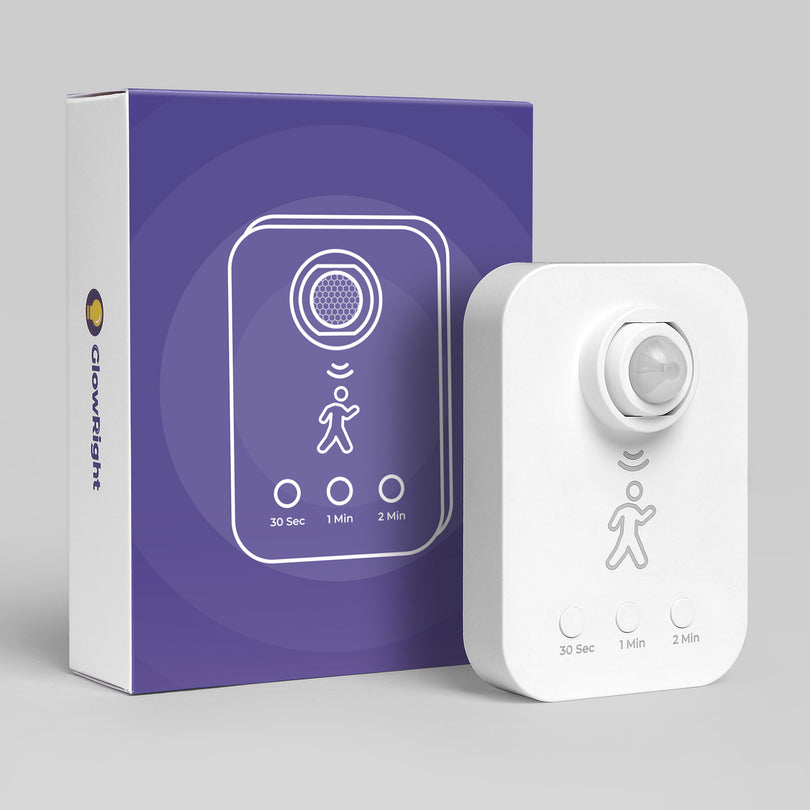
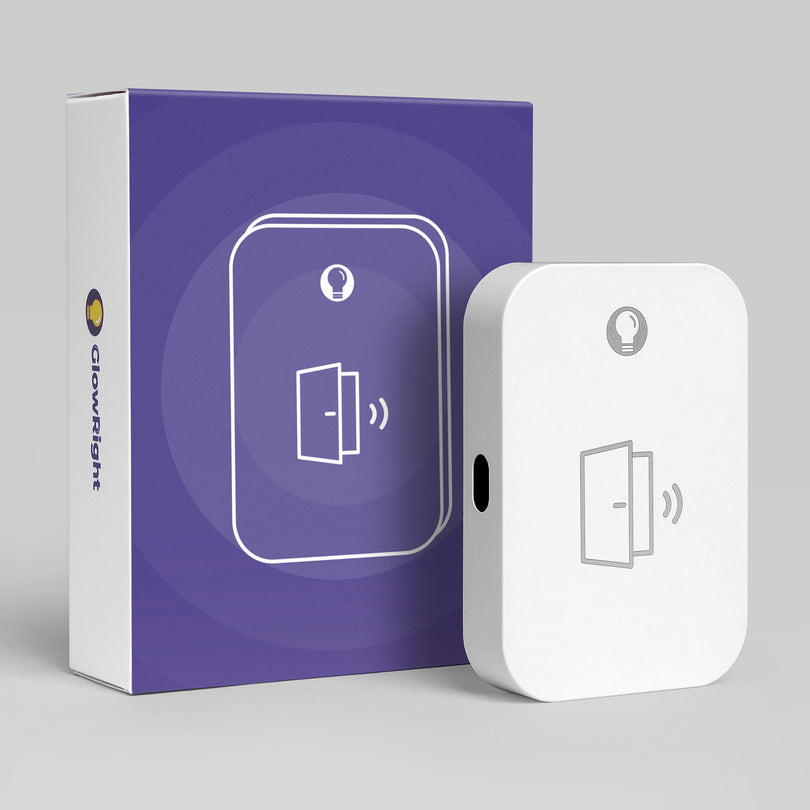
Slide the Mode switch on the side. Tap a mode to see how it works.
Wave a hand, lights on.
Wave again, lights off.
How to wave
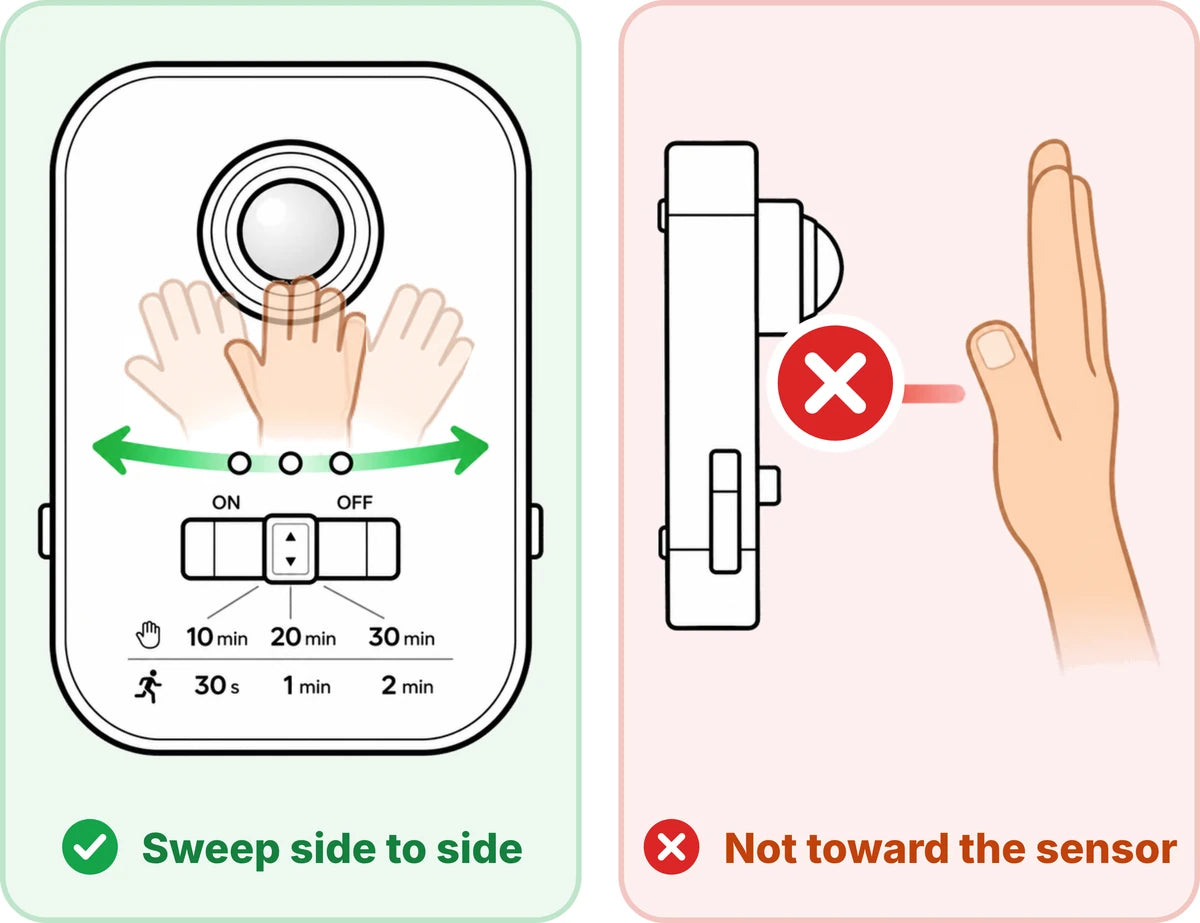
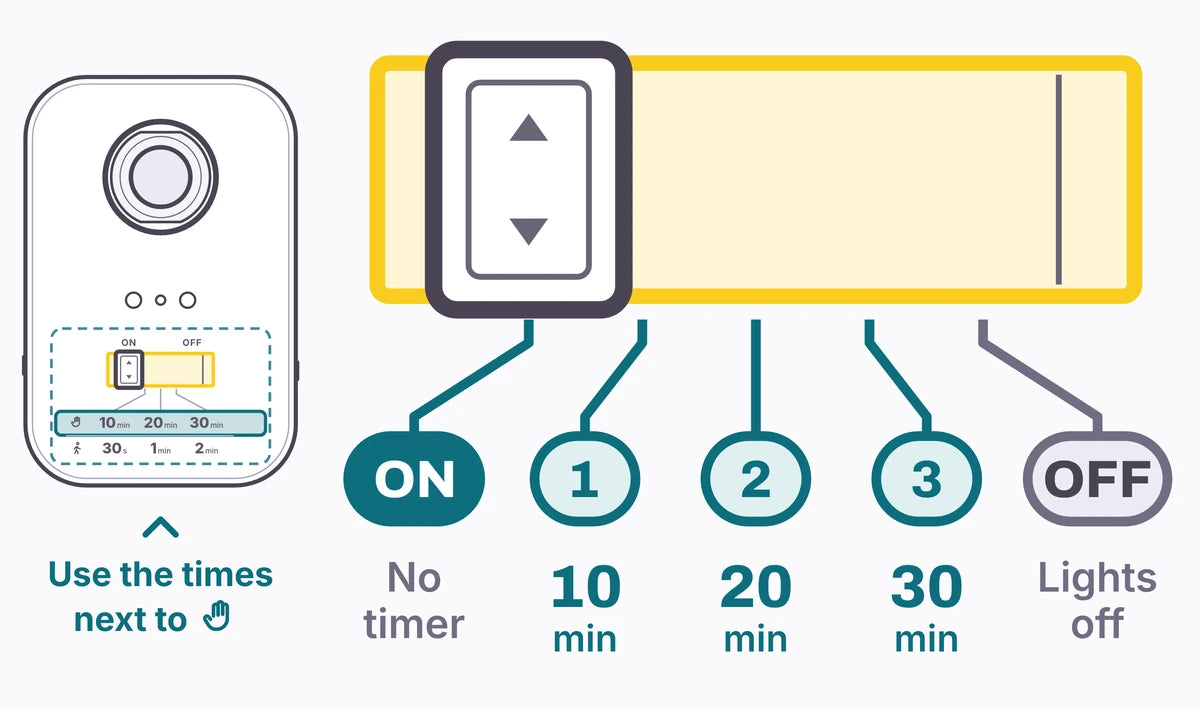
Set the timer
Where to put it
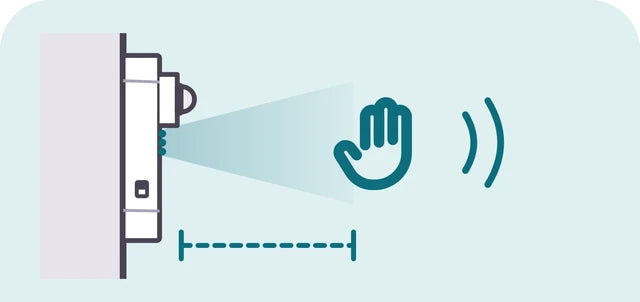
Within easy reach. Wall or flat.
Walk in, lights on.
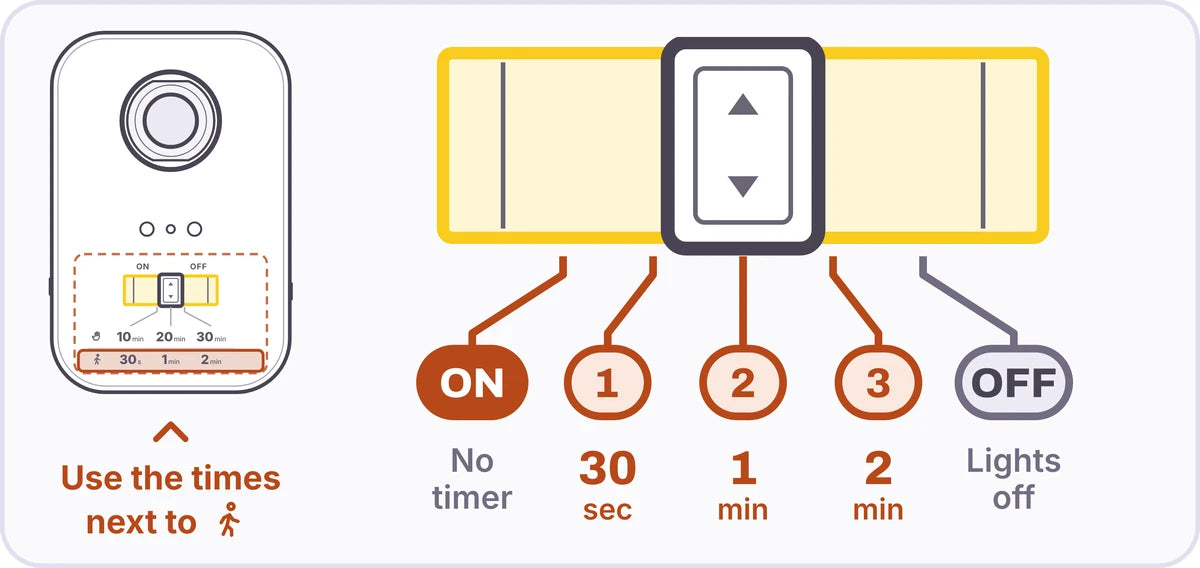
Off when the timer ends.
How it works
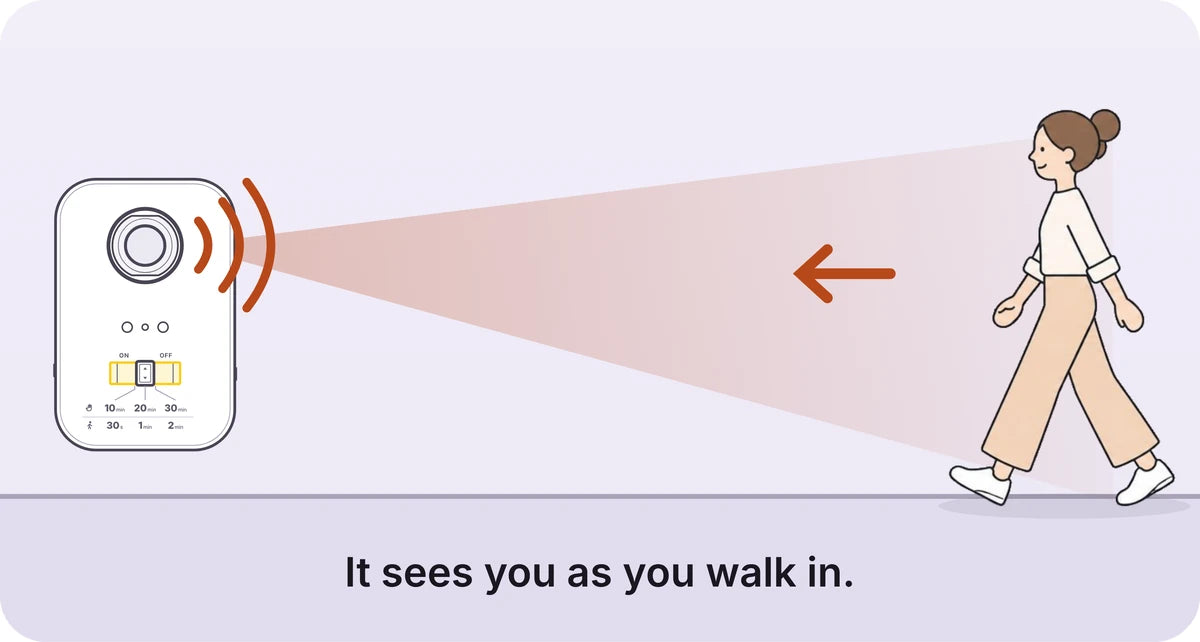
Sees you across a wide 150°.
Set the timer
Where to put it
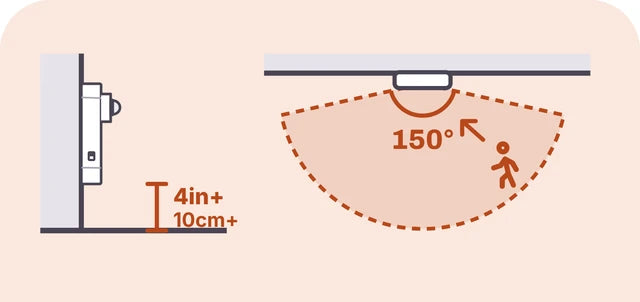
At least 4 in / 10 cm up, facing the walkway.
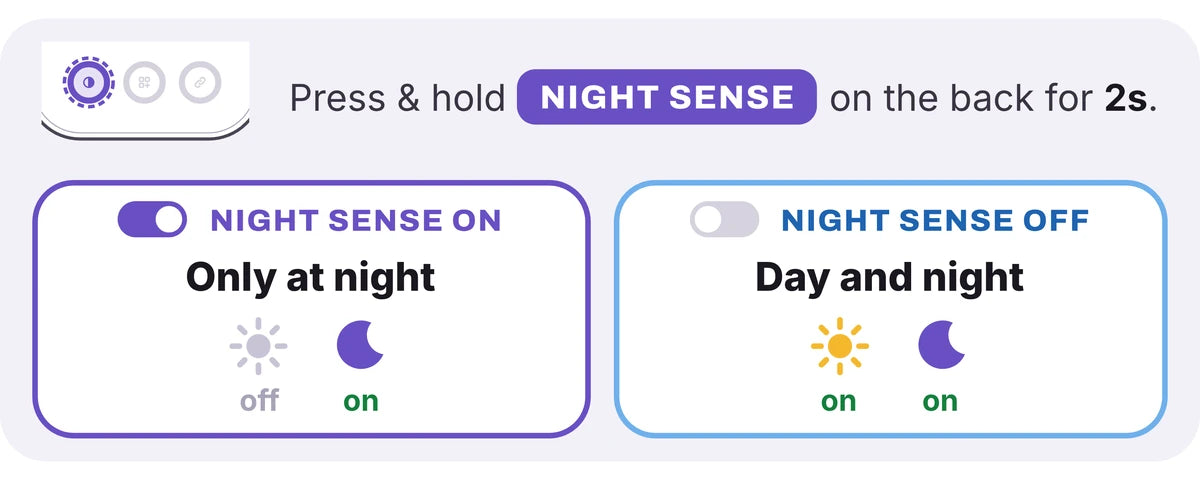
Save battery with Night Sense
Hold NIGHT SENSE on the back for 2 seconds. Lights then react only after dark.
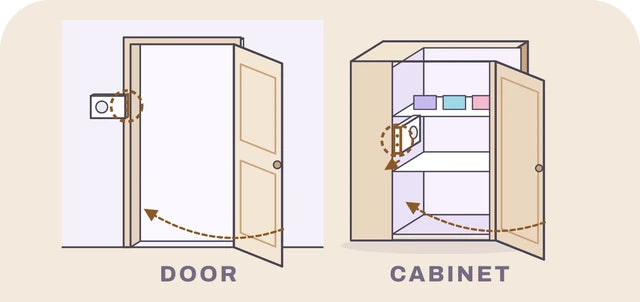
Open it, lights on.
Close it, lights off.
Where to put it
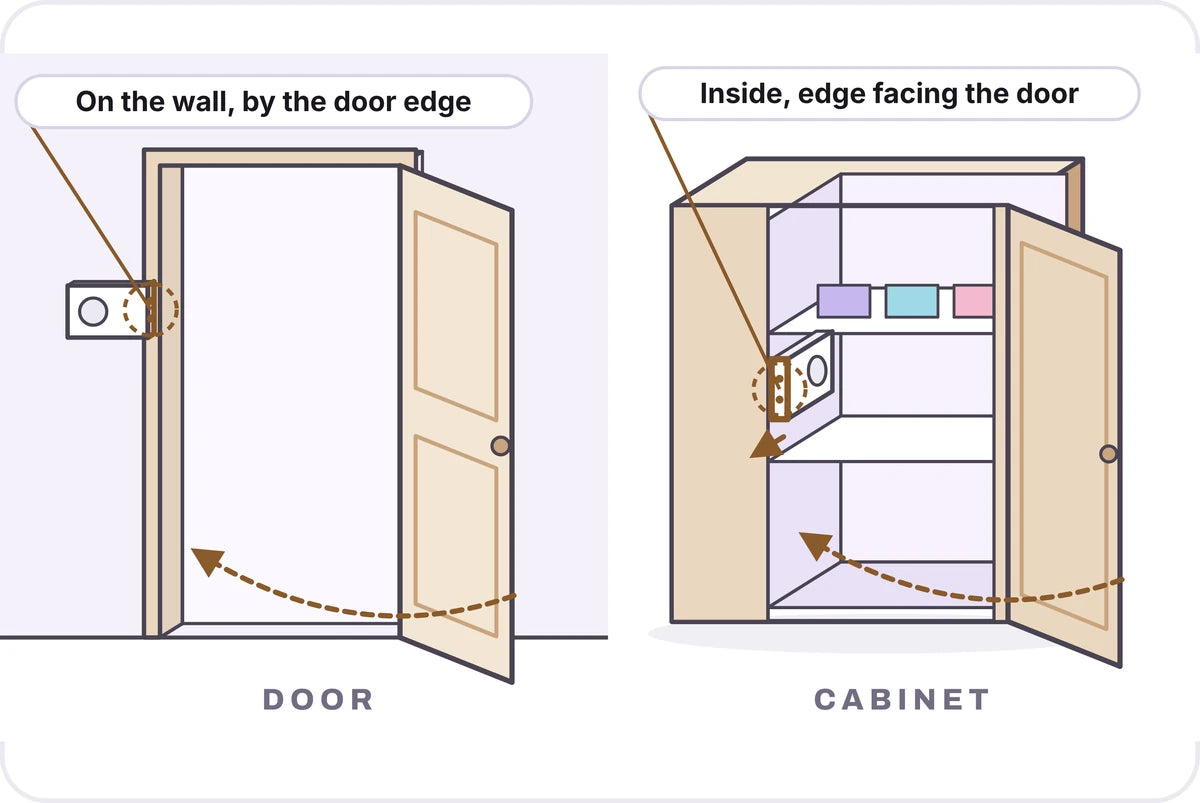
Bottom edge faces the door.
Set the timer
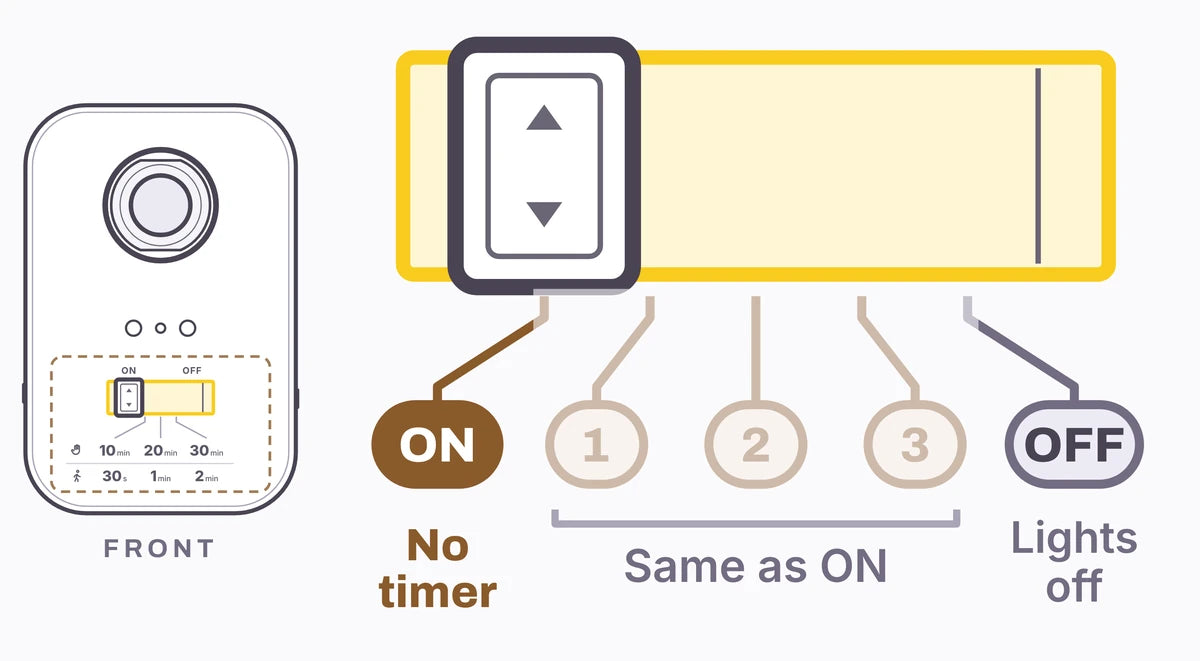
Leave it on ON. Lights stay on until you close it.
Mind the gap
0.2 to 0.6 in
Close to the shut door, not touching.
Play music, lights dance.
Music stops, lights stay on.
How it works
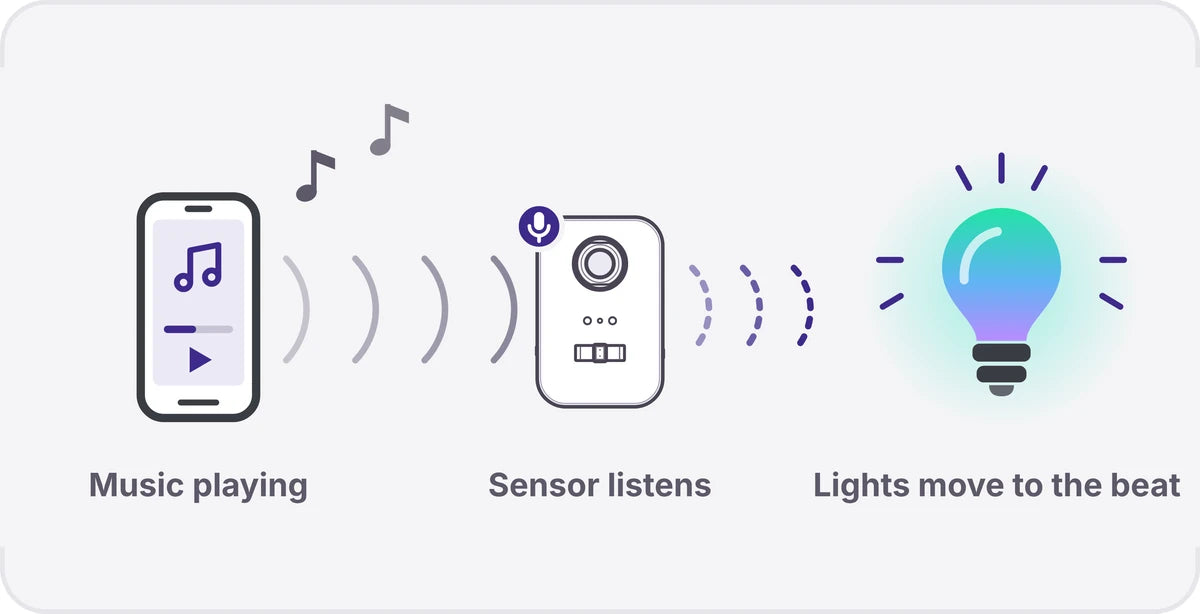
Set the timer

Dial on ON, GEN on GEN 2.
Where to put it
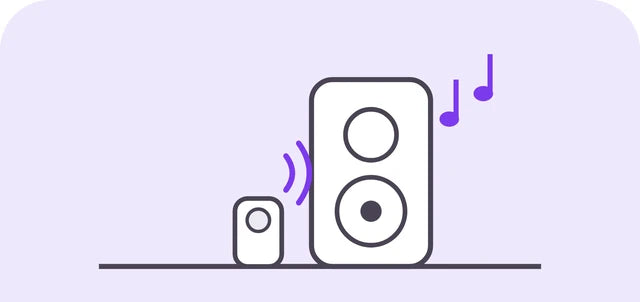
Near the speaker.
The plate stays. The sensor lifts off.
Put it where your mode works best.
 1Wipe the spot clean and dry.
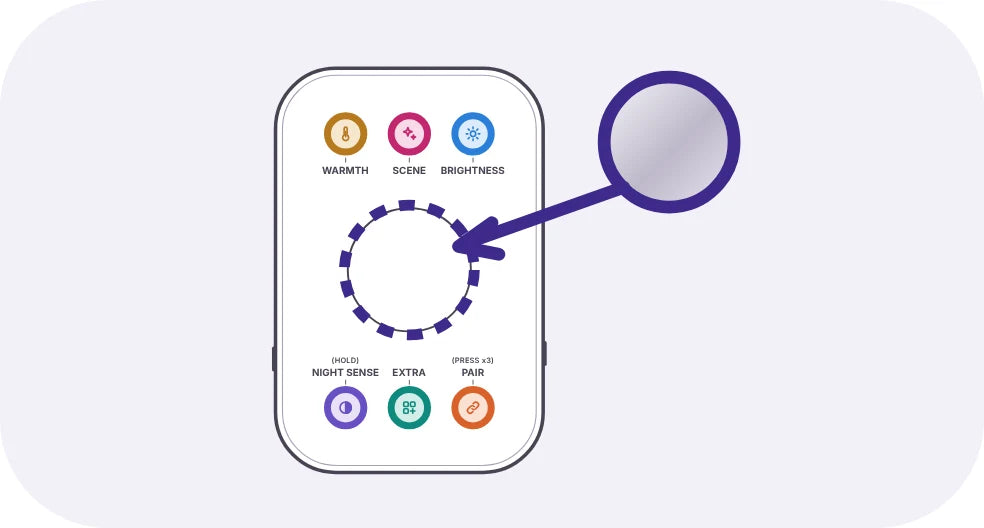 2Snap the plate on the back.
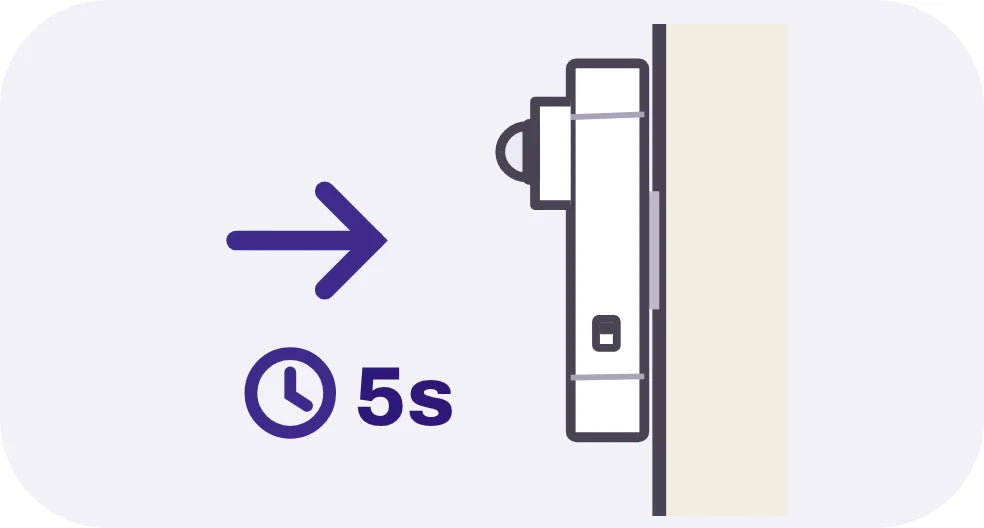 3Peel, then press on the wall for 5 seconds.

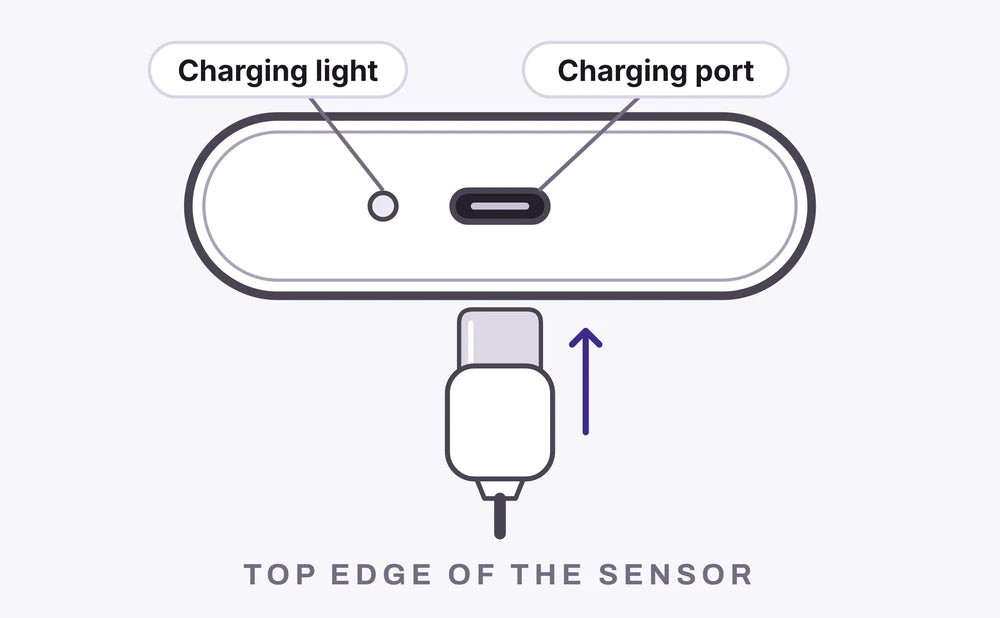
Charge it
Lift it off the plate. Plug USB-C into the top edge.
Blinks red: charge itGreen: full
What the lights mean.
On the light
Charging light, by the port
- RedCharging
- GreenFully charged
The whole light
- Pulses blueLooking for a sensor, 10 s
- Flashes greenPaired
- Orange flashUnpaired
- Flashes purpleNight Sense on
- Flashes sky blueNight Sense off
- Gets dimmerLow battery, plug it in
On the 4-in-1 Sensor
- Blinks redTime to charge
- GreenFully charged
Something off? Tap what you see.
Most fixes take a few seconds.
The light
The Dock
The 4-in-1 Sensor
- A quick press does nothing. Hold Power for 1.5 seconds.
- Still nothing? The battery may be empty. Charge it with a 5V/2A USB charger.
That's the battery running low. To stretch the last of the charge, the light eases off power. Color scenes need full power for their richest tones, so they're the first to show it.
Any color scene can do thisAuroraDreamlandCandlelightBeachHerbal
It's your light's way of asking for a charge. Charge it for a while and the full colors come back.
That's the low battery sign. It dims a little to last longer.
Charge it for a while and full brightness comes back.
- Pull off the end caps where the lights meet.
- Face them the same way and push the ends together firmly.
- Wipe the spot clean and dry first.
- Press the plates up firmly for at least 5 seconds.
- Wait 1 hour before you lift the light off.

- On the sensor, timer dial on ON and GEN switch on GEN 2. Pairing won't work on any other setting.
- Press Power on the light 3 times quickly. It pulses blue.
- Within 10 seconds, press PAIR on the sensor 3 times.
- Still nothing? Charge the sensor and try again. Walls can shorten the range.
- Check the timer dial isn't on OFF.
- Wave: sweep side to side in front of it, not toward it.
- Door: bottom edge faces the door, 5 to 15 mm away, dial on ON.
- Music: GEN 2 and dial on ON. Turn it up or move it closer.
- Sensor light blinks red? Charge the sensor.
Night Sense is on. Hold NIGHT SENSE on the back for 2 seconds to switch it off, and it works day and night.
Turn the timer dial to a higher number. Wave: 10, 20 or 30 min. Motion: 30 s, 1 or 2 min. On ON they stay on until you turn them off.
The timer dial is on ON, so there's no timer. Turn it to 30 s, 1 min or 2 min, and the lights turn off on their own after that.
- Press Power on the light 5 times, quickly.
- It flashes orange. Unpaired.
- Pair it with the new sensor. Same steps 1 to 3.
- Pull off the Dock's Back Cap.
- Insert it sideways, then turn 90° clockwise until it stops.
- Wall Shell won't snap on? Pull out the level first.

- Lift the light straight up and out.
- Turn the Dock back 90° and pull it off.
- Lift off the Wall Shell, then pull each strip slowly down along the wall, not out.
The numbers.
- 12,500mAh battery
- 95+CRI white light
- 24/7when plugged in
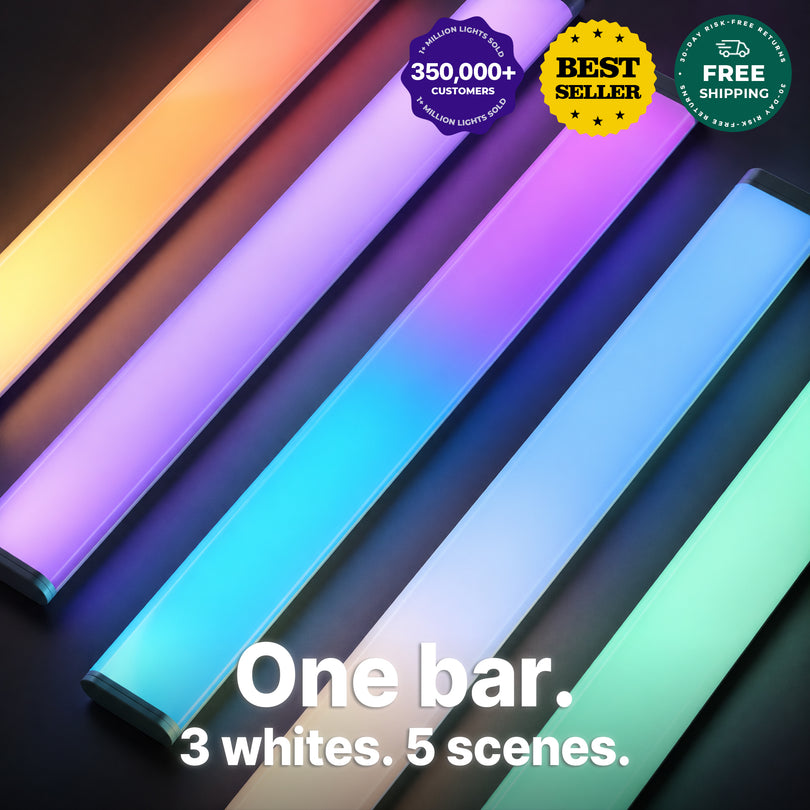
- 3 + 5whites and color scenes
- 16 in40.6 cm long
- 66 ftsensor range, 20 m
A real person will help.
Email us anytime. Someone on our team reads every message.